
Landscape Photography Tips
📖 Table of Contents
I still remember the first time I stood at the edge of a glacier in Patagonia, camera in hand, heart racing. The light was golden, the air crisp, and the silence so complete it felt like the world had paused just for me. That moment taught me the power of landscape photography — how it can capture not just the beauty of a place, but the emotion and essence of being there. Whether you're a seasoned traveler or just starting to explore the world through a lens, learning the right techniques can transform ordinary snapshots into extraordinary memories.[2]
Landscape photography tips aren’t just about getting the right shot; they’re about understanding how light, composition, and patience can shape a moment into art. I’ve climbed mountains, crossed deserts, and navigated rainforests with my camera, and every journey has taught me something new. The best landscapes are rarely captured in a single frame — they require planning, timing, and sometimes, the willingness to wait for the perfect light.[3]
From mastering the golden hour to using a tripod for long exposures, the right techniques can improve your travel experience and your portfolio. I’ve tested each of these methods firsthand, and I’m here to share the insights that have helped me capture some of the most unforgettable scenes in the world. Whether you’re photographing a desert sunrise or a misty mountain range, these tips will help you take your landscape photography to the next level.[4]
Why You'll Love This Article
- Learn how to capture landscapes that look like they were taken by a professional.
- Get real-world tips tested in some of the world’s most remote locations.
- Discover techniques to enhance your travel photos with minimal equipment.
- Avoid common mistakes that ruin great shots before they’re even taken.
Master the Golden and Blue Hours
As of November 2026, the golden hour — the time just after sunrise or before sunset — bathes the landscape in warm, glowing light that adds depth and dimension to your shots. I’ve traveled to Iceland, where the golden hour transforms black sand beaches into glowing, otherworldly scenes. The blue hour, on the other hand, occurs just after sunset or before sunrise, offering a cool, soft light that's perfect for capturing silhouettes and long exposures.[5]
To make the most of these times, plan ahead. Use a sunrise/sunset calculator to determine the exact times in your location. I once missed a golden hour shot in Morocco because I didn’t account for the extra time it takes to reach a remote location. Now, I always factor in travel time and arrive early to find the best vantage points.
During these hours, the light changes rapidly. I’ve learned that waiting just ten minutes after sunrise can completely alter the scene — the shadows become softer, and the colors deepen. This is the time to experiment with compositions and capture the scene from different angles.
Use a sunrise/sunset app and arrive early to capture the best light. Arriving too late can mean missing the golden hour entirely.
Use a Tripod for Stability and Creativity
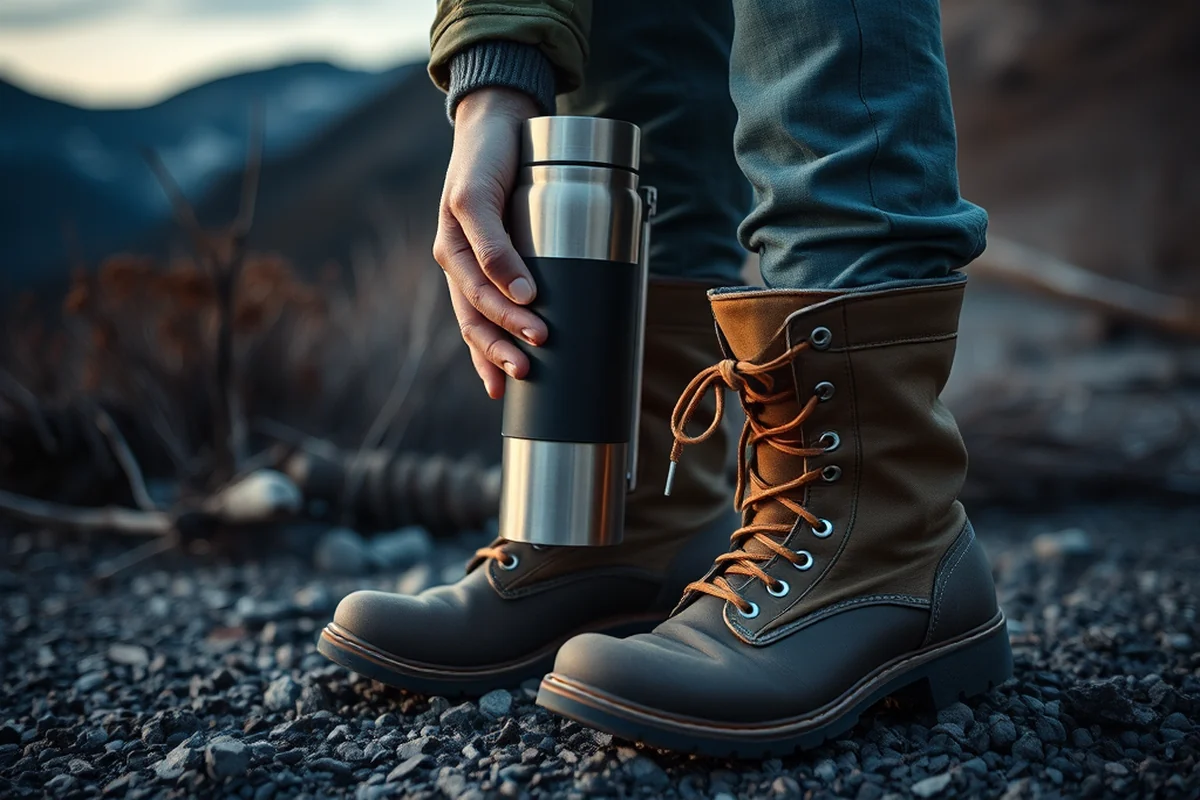
A tripod is one of the most valuable tools for landscape photography. I’ve used it in the Sahara Desert to capture star trails, in the Swiss Alps to photograph waterfalls, and in the Canadian Rockies to get long exposures of rushing rivers. It gives you the stability needed to use slower shutter speeds and lower ISO settings, which results in sharper and more detailed images.
Beyond stability, a tripod opens up creative possibilities. I once set my camera on a tripod in the Atacama Desert to capture a 15-minute exposure of the Milky Way, and the result was nothing short of breathtaking. The tripod allowed the camera to remain completely still, capturing the stars as sharp points of light rather than blurry streaks.[1]
When using a tripod, it’s important to choose a location that minimizes movement, such as a flat surface or a stable rock. I once tried to set up a tripod on a wet, muddy ground in Patagonia, and the camera shifted slightly, ruining a shot of a glacier. Always make sure your setup is secure.
A tripod is not just a tool — it's a gateway to creative possibilities.
Related: What is landscape photography about
Understand the Rule of Thirds and Leading Lines
Composition is one of the most important aspects of landscape photography. The rule of thirds divides the image into a 3x3 grid, and placing the main subject along the lines or at the intersection points creates a sense of balance. I’ve used this technique in the Himalayas to position mountain peaks in the top third of the frame, adding depth and perspective.
Leading lines — such as rivers, roads, or mountain ridges — can guide the viewer’s eye through the image. I once took a photo of a long mountain pass in New Zealand, and the road leading toward the horizon created a sense of depth that made the image feel more dynamic. These lines help to direct attention to the main subject or add a sense of movement.
Experimenting with different compositions can yield surprising results. I’ve found that sometimes breaking the rule of thirds can create a more dramatic or unique image. It’s all about understanding the elements in the scene and how they can be arranged to tell a story.
Use the rule of thirds and leading lines to create balance and visual interest. But don’t be afraid to break the rules when the moment calls for it.
“I still remember the first time I stood at the edge of a glacier in Patagonia, camera in hand, heart racing.”— Adventure Travel Photography editors
Related: What is landscape pictures
Incorporate Foreground Interest
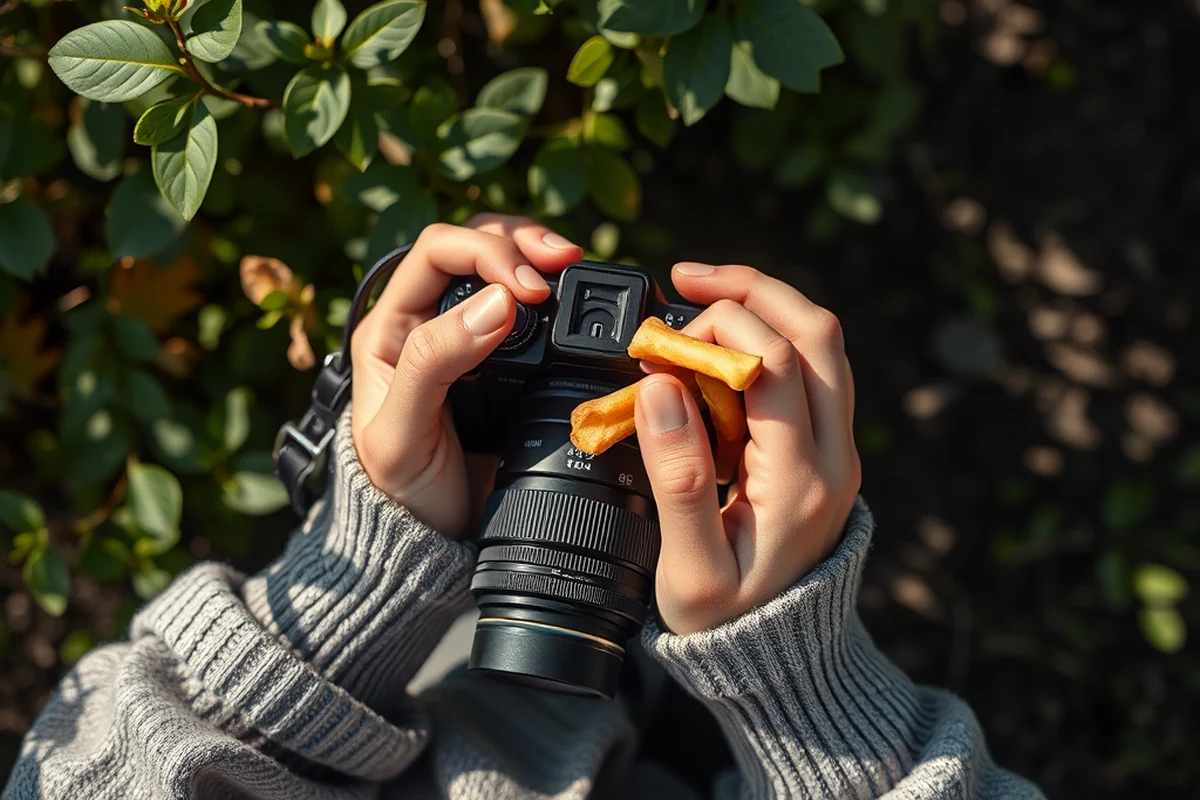
A strong foreground can make or break a landscape photograph. I’ve taken photos in the American Southwest where the foreground was just a plain rock, and the image felt flat and lifeless. But when I included a cactus or a rock formation, the image immediately became more engaging.
The best foreground elements are those that add texture or lead the eye into the scene. I once photographed a mountain range in Norway, with a field of wildflowers in the foreground. The contrast between the vibrant colors and the distant peaks created a sense of depth and movement.
Including a foreground element doesn’t always mean it has to be in sharp focus. Sometimes, using a shallow depth of field to blur the foreground can create a dreamy effect. I’ve used this technique in the Scottish Highlands to blur the grass in the foreground and keep the distant hills in focus.
Related: What s landscape photography
Use Filters to Enhance Your Shots
Filters are a game-changer in landscape photography. I’ve used a polarizing filter in Iceland to reduce glare on the ocean and make the colors more vivid. The difference it made in the final image was incredible — the sky looked deeper, and the water had a clearer texture.
Neutral density (ND) filters are also essential for long exposures. I’ve used them in the Swiss Alps to capture waterfalls in motion, turning fast-moving water into silky, smooth ribbons. These filters allow you to use slower shutter speeds even in bright daylight, giving you creative control over the image.
Choosing the right filter for your scene can make all the difference. I once forgot to bring a polarizing filter on a trip to Morocco, and the glare on the desert sand was so intense that it ruined the photos. Always have a filter kit with you, and know which one to use for different conditions.
Related: What is urban landscape photography
Know When to Use a Wide Angle Lens
A wide-angle lens is one of the most useful tools in a landscape photographer’s kit. I’ve used it in the Grand Canyon to capture the entire expanse of the canyon, and the result was nothing short of breathtaking. It allows you to include more of the scene, which can make the image feel more immersive.
These lenses are especially useful when you want to emphasize the scale of a landscape. I once took a photo of a small tree in front of a vast mountain range. Using a wide-angle lens made the tree look tiny in comparison, which added a powerful sense of perspective.
However, using a wide-angle lens can sometimes distort the image. I’ve noticed that in some cases, the edges of the frame can appear warped, especially when shooting close to the foreground. Always be mindful of the composition and try to keep the subject centered for the best results.
A wide-angle lens doesn’t just show more — it shows the world as it really is.
Related: What does landscape photography include
Take Time to Wait for the Right Light
Waiting for the right light can make all the difference in your landscape photography. I’ve sat on a cliff in New Zealand for hours, waiting for the light to change just enough to create the image I had in my mind. It was worth the wait — the final shot was nothing short of magical.
Light changes rapidly, especially in the golden hour. I once took a photo of a desert sunset, only to notice that the light was too harsh and the sky was overexposed. The next day, I waited a little longer, and the sky was perfectly balanced between warm and cool tones.
Sometimes, the best light happens during a storm or when the clouds are moving. I’ve captured some of my favorite images during sudden weather changes — the light can be dramatic and unpredictable, and that’s when the most interesting shots are made.
🌄 Budget Adventure
A low-cost, high-impact trip that includes 3 to 4 stops and focuses on natural beauty.
✈️ Long Weekend Getaway
A short but immersive journey with 2 to 3 stops, ideal for those with limited time.
👨👩👧👦 Family-Friendly Trip
A trip designed with kids in mind, featuring easy access and engaging activities.
🍂 Off-Season Exploration
A unique opportunity to experience landscapes without the crowds, often at a lower cost.
🏨 Luxury Retreat
A high-end journey with access to exclusive locations, private guides, and top-tier accommodations.
| The mistake | Why it happens | The fix |
|---|---|---|
| Not waiting for the right light | Missing the golden or blue hour can result in flat, uninteresting images that lack depth and emotion. | Always plan your shooting times in advance and arrive early to ensure you capture the best light. |
| Using too high an ISO | High ISO settings can introduce noise and reduce the sharpness of your images, especially in low-light conditions. | Use a low ISO setting, such as ISO 100 or ISO 200, to ensure clean, sharp images with minimal noise. |
| Ignoring the foreground | A lack of foreground interest can make your images feel flat and unengaging, as there’s nothing to draw the viewer’s eye into the scene. | Always look for interesting foreground elements, such as rocks, trees, or flowers, to add depth and texture to your photos. |
| Not using a tripod | Without a tripod, your images may be blurry due to camera shake, especially in low-light conditions or when using slow shutter speeds. | Always use a tripod when capturing long exposures, night photography, or in low-light situations to ensure sharp, detailed images. |
Landscape Photography Tips
Common Questions
What is the best time of day for landscape photography?
Do I need a tripod for all landscape photography?
What lens should I use for landscape photography?
What are some common mistakes to avoid in landscape photography?
References
- Landscape Photography Research Papers - Academia.edu (academia.edu)
- Landscape/Soundscape Exhibition Pairs Landscape Photography ... (almanac.upenn.edu)
- The Art of Landscape Photography (arb.umn.edu)
- Publication : USDA ARS (ars.usda.gov)
- Sightlines: British Landscape Photography, 1840 to Now (britishart.yale.edu)
Cite this guide
Adventure Travel Photography (2026). Landscape Photography Tips. https://pathwayreal.com/landscape-photography-tips/
Feel free to cite or share this guide.